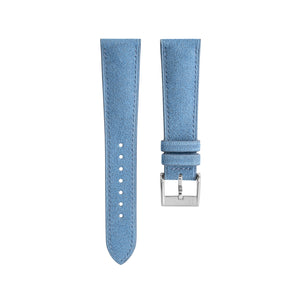
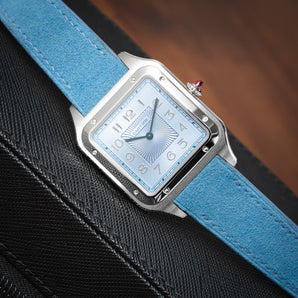
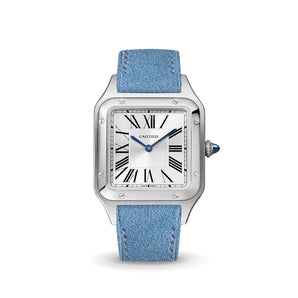
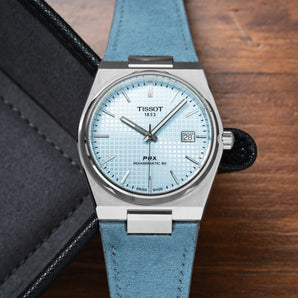
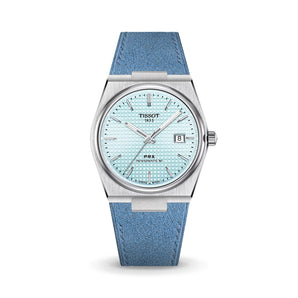
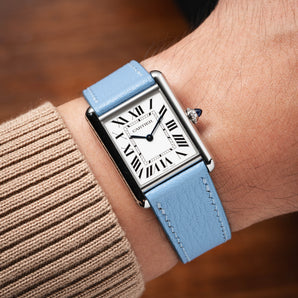
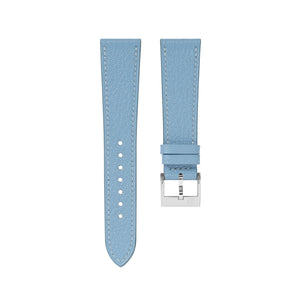
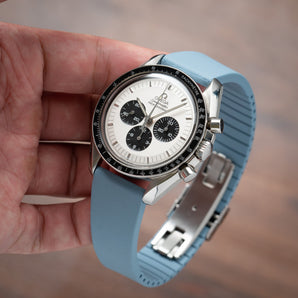
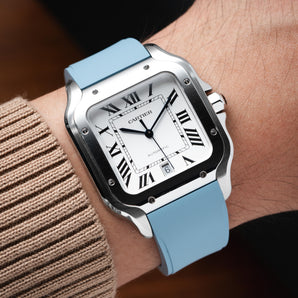
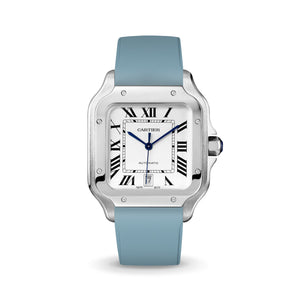
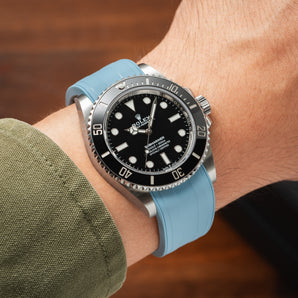
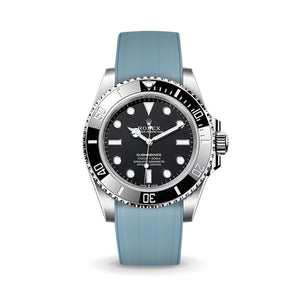
Our Handcrafted Straps
We believe that every watch deserves to be complemented with an equally remarkable counterpart - the strap.
Every Delugs strap is the culmination of thoughtful, painstaking steps in design and craftsmanship. The aim is enduring visual and physical quality for every strap that leaves our workshop.
We are proud to show you how each strap is transformed from its raw materials to its final form by our team of crafters, taking anywhere from 4 to 6 hours from start to finish.
Watch Our Leather Crafting in Action
From Start to Finish: Every Step

Step 1
Leather Selection
Everything starts with the leather, which we source from tanneries around the world.

Step 2
Material Preparation
Leather is cut into the rough shape and size needed to make the strap.

Step 3
Splitting
Leather is thinned down to the required thickness with the splitting machine.
Step 4
Logo Stamping
Logo and sizing information is stamped onto the lining.

Step 5
Reinforcement
A layer of reinforcement is added to the leather for additional durability, and to prevent stretch.

Step 6
Skiving
The leather is thinned down at the ends, to allow for a seamless transition between the main and lining leather.

Step 7
Shaping Padding
A piece of leather is cut and shaped to form a dome, to be used as the inner padding.

Step 8
Assembly
The main leather with reinforcement layer, lining leather with logo stamped, and padding are all assembled and glued together.

Step 9
Clicking
The strap is cut into its precise shape with the help of a die press for standard sizes, or hand-cut for custom shapes and sizes.

Step 10
Pricking Holes
Holes for stitching are punched through the strap by a pricking iron.

Step 11
Saddle Stitching
Strap is stitched with the traditional saddle-stitching technique for greater durability.

Step 12
Edge Creasing
The front and back of the strap has a decorative line creased into the leather with the help of a heated fileteuse machine.

Step 13
Edge Finishing
A layer of paint is applied onto the sides of the strap to seal it up, and then sanded down for a smoother surface.

Step 14
Strap Keepers
Fixed and floating strap keepers are assembled and attached onto the strap.

Step 15
Punching Strap Holes
Strap holes are punched into the strap. Measure twice, punch once!

Step 16
Attaching Buckle
Buckle tongue notch is punched and the buckle is installed.

Step 17
Quick Release Spring Bars
A notch for the quick release spring bars is punched into the strap, and the spring bars are installed.

Step 18
Quality Control
Strap is checked to ensure that there are no flaws, marks, or defects, and that the measurements are precise and accurate.
![Anthracite Hook Strap [kollokium x Delugs] - Image 2](http://delugs.com/cdn/shop/files/20250919-A7405309_298x298_crop_center.jpg?v=1761299094)
![Delugs Anthracite Hook Strap [kollokium x Delugs] Fabric Watch Strap](http://delugs.com/cdn/shop/files/Kollokium_straps_Anthracite_1_298x298_crop_center.jpg?v=1761299094)